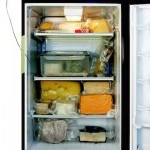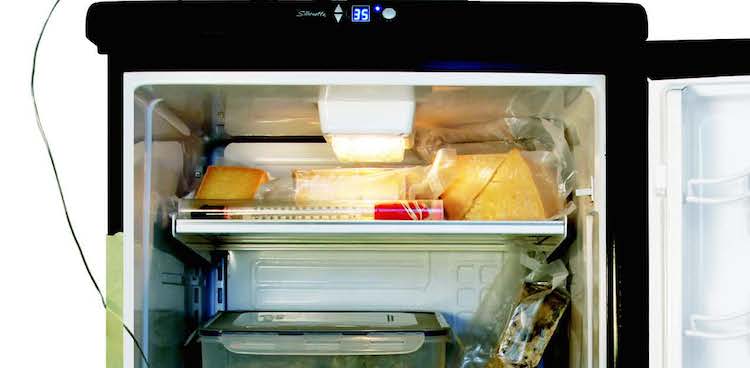
My life as a home cheesemaker began several years ago with an attempt to make a Gouda-style cheese. I recall putting my first batch of the cheese into a wine refrigerator to age for three months, and within a week it had seriously cracked (due to air circulation drying out the cheese). Like other amateur cheesemakers trying to make aged styles like Havarti, Gouda, and cheddar, I had underestimated a critical part of cheesemaking: the environment. I had to improvise a way to control the climate for aging my wheels so they could mature and ripen. (The French have a name for this: affinage.) The solution? Retrofit a small used refrigerator to create my own “cave.”
The cave’s job is to maintain steady temperature and humidity. Depending on the cheese style, the ideal temperature and humidity fall between 45°F and 58°F (7°C and 14°C) and between 80 percent and 98 percent, respectively.
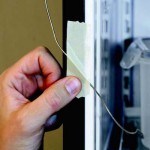
Standard refrigerators are designed to stay much colder and drier than this, so you have to tinker with them to turn them into a cave. I recommend finding a clean, small, dormitory-style mini-refrigerator at a garage sale. Then check with cheesemaking suppliers (in the Marketplace section of this magazine, p. 104) or search online for an external refrigerator thermostat. Plug the refrigerator power into the thermostat, and place the thermostat’s sensor bulb inside the refrigerator, being careful not to kink its thin tube. The external thermostat will now start and stop the refrigerator, maintaining the proper temperature. Alternatively, wine refrigerators naturally operate in the correct temperature range and can be used without modification (just take some of the measures below to protect your cheese from drying out, like my Gouda did).
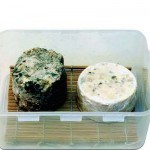
To increase the humidity, keep an open container of water or a damp towel inside the cave. Keep your cheese in a container covered by a dry towel to protect it from too much air circulation. Some styles, such as blues, bloomy rinds, and washed rinds, like a very humid environment. For these, cut a bamboo sushi-rolling mat to fit in the bottom of a plastic food-storage container. Lay the cheese on the mat, and cover loosely with the container lid (don’t seal it completely). Do not let moisture pool at the bottom or touch the cheese. To help the cheeses mature evenly, flip them over regularly.
Even if you don’t make your own cheese, you can still use your cave to age purchased cheese. Steve Jones, my local cheesemonger and owner of the Cheese Bar in Portland, Oregon, said he once received a fresh cheese whose packaging had failed in shipment. Since it could no longer be sold, he dried it uncovered in a standard refrigerator for two days, then began aging it. A few weeks later it had transformed into a new, delicious cheese. This seems to be a perfect technique to use with something like a fresh chèvre to create a unique cheese of your own. (When aging a fresh cheese, however, beware of any red spotted molds—as opposed to washed-rind-type orange molds. The red ones can be dangerous to consume.)
Whole waxed, vacuum-sealed, or thick-rinded cheeses are good candidates, since cave humidity is less critical. Try aging a wheel of Gouda or a block of cheddar at 50°F (10°C) for three to six months, or even longer. You can also enhance an underripe bloomy-rind cheese, such as a firm Camembert, by aging it at 55°F (13°C) for one or two weeks. Do the same with a young Époisses, aging it until it is fully coated in orange rind; the cheese’s flavor and aroma will be markedly stronger. As with people, maturity in cheese can greatly add to its character.


