
While some butter tastes nutty and feels warm and just plain sexy on your tongue, other versions are waxy and bland. Why? It starts with quality cream, of course, but the make process—fermenting the cream, washing and drying the butter—also plays a big role. Review these pointers and you’ll be ready to dive into the cultured butter recipe that follows.
Go with Good Cream
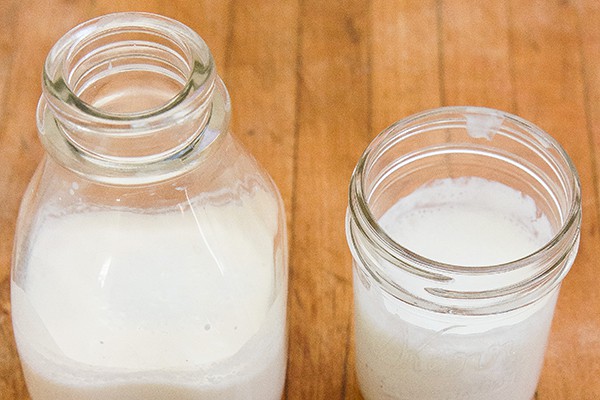
The better the cream, the better the butter. The ideal kind for buttermaking is heavy, rich, and, if you’re lucky, from a nearby cow—no ultrapasteurization or stabilizers needed. Cream from cows raised on a diverse, pasture-based diet will make more interesting butter than cream from corn- and soy-fed cows. Lastly, choose cream sold in a glass container; both plastic and cardboard can impart unwanted flavors.
Find Fantastic Microbes
Most butter on the grocery shelf is labeled “sweet cream”—it’s made from cream that’s so fresh it hasn’t had a chance to ferment. But when you add cultures or bacteria to the mix, you’ll produce butter with more flavor. Have fun experimenting with culture sources such as buttermilk, sour cream, or kefir grains—each with different aroma and flavor compounds—to find one you like. Culturing your cream also converts the lactose to lactic acid, which helps prevent milk proteins from spoiling, keeping your homemade cultured butter fresher longer than sweet cream versions.
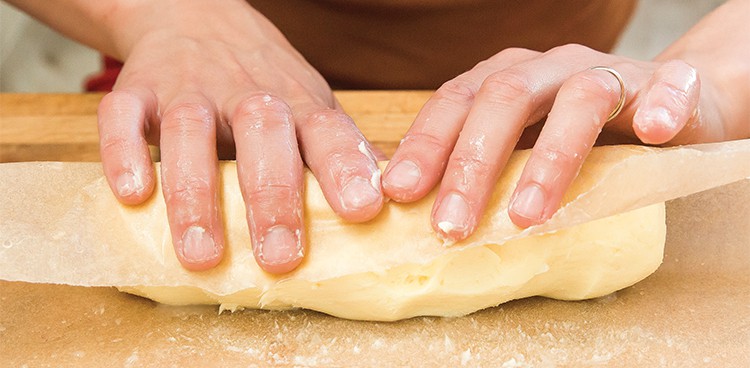
Wash and Press
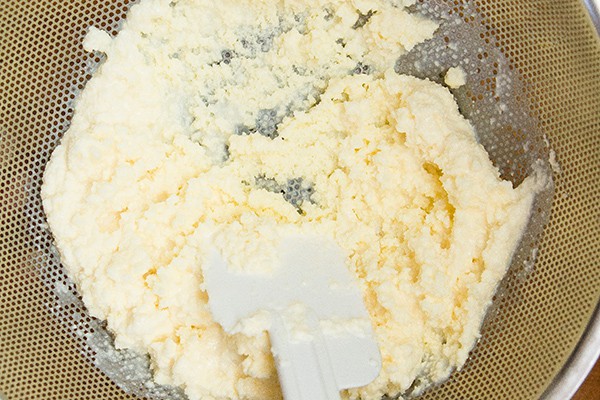
Remember making butter in chemistry class, when you shook jars of cream until a ball of butter formed? Not this time. Stop churning before the bits of butterfat have fully merged together, so you can rinse it with water. Washing the butter removes solids such as casein and lactose, upping the butterfat ratio and giving the finished product a higher smoke point.
For butter with a longer shelf life (milk solids and water can make butter turn rancid), press out as much water as possible after rinsing. Use a rubber spatula or cold fingers to knead and squeeze the butter and release the liquids. Less liquid also equals more butterfat.
CULTURED BUTTER
Makes 2 cups (and 1½ cups buttermilk)
Equipment:
2 1-quart glass jars with lids
Large stainless steel bowl
Thermometer
Stand mixer fitted with the paddle attachment
Fine mesh colander with large bowl underneath
Ingredients:
1 quart heavy cream
3 tablespoons culture (buttermilk, yogurt, sour cream, kefir, or a pinch of freeze-dried culture)
1½ teaspoon coarse sea salt


Blessed Be the Buttermilk!
The blissful by-product of making butter is the best buttermilk you’ll ever taste. Any small flecks of butterfat that made it through the colander are now suspended in the milk and will make your biscuits impossibly flaky. Use buttermilk within a week for best flavor—perhaps as the inoculant in your next batch of butter.
Photographed by Veronique Kherian

Louella Hill
Louella Hill, the San Francisco Milk Maid is a cheesemaker, cheese teacher, and, foremost, cheese eater. She is the author of Kitchen Creamery. She lives in Virginia with her family.