


Cheese balls have the power to transport us back to days of feathered hair, fondue, and macramé. To Thanksgiving, Christmas, and New Year’s. To Wisconsin or Grandma’s kitchen table. Fun to talk about, easy to make, and delicious with a variety of ingredients, cheese balls are infinitely adaptable, if you include a few key components.
The basic elements of a great cheese ball are:
- A smooth base, such as cream cheese, chèvre, or butter—or a combination of two or all three
- An accent cheese with punchy flavor, such as cheddar, blue cheese, or smoked gouda
- A few embellishing ingredients (such as spices, dried fruit, or olives) for the interior or exterior
- A colorful or crunchy chopped ingredient (toasted nuts, seeds, seasonings, fresh herbs) for the exterior
Consider the cheese ball a blank canvas on which to create your wildest appetizer or dessert dreams. It also offers the perfect opportunity to showcase your pairing skills and develop signature recipes. Making a cheese ball couldn’t be simpler, but don’t forget to allow base ingredients to come to room temperature before you begin; this helps various flavors and textures meld.
Makes one 8-ounce ball
SUPPLIES:
- Food processor
INGREDIENTS:
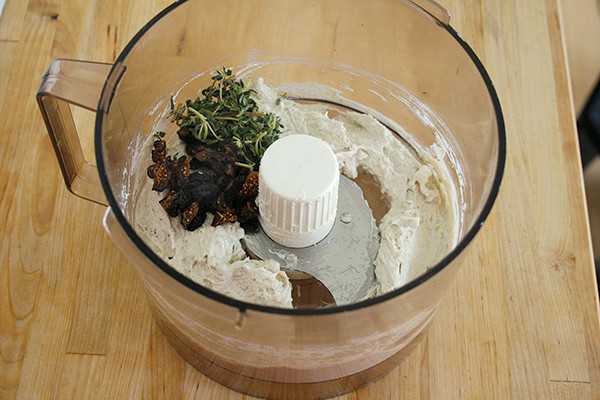
- 4 ounces Colston Bassett Stilton
- 4 ounces cream cheese (we recommend Gina Marie brand)
- 2 tablespoons (about 1 ounce) dried figs, chopped
- 1 tablespoon chopped fresh thyme
- ¼ teaspoon black pepper, plus more to taste
- Salt
- 2 tablespoons sliced almonds, toasted and chopped
- 1 tablespoon ground sumac (optional)


Sasha Davies
Sasha Davies lives in Portland, where she and her husband own and operate Clay Pigeon Winery and the wine bar and café Cyril’s at Clay Pigeon. She is author of The Guide to West Coast Cheese and the recently published The Cheesemaker’s Apprentice. You can follow her at sashadavies.com.

Andrea Duarte
Andrea Duarte is an illustrator and graphic designer based in the Dallas Fort Worth area.